Best DSLR Setting 2021 For Vloggers
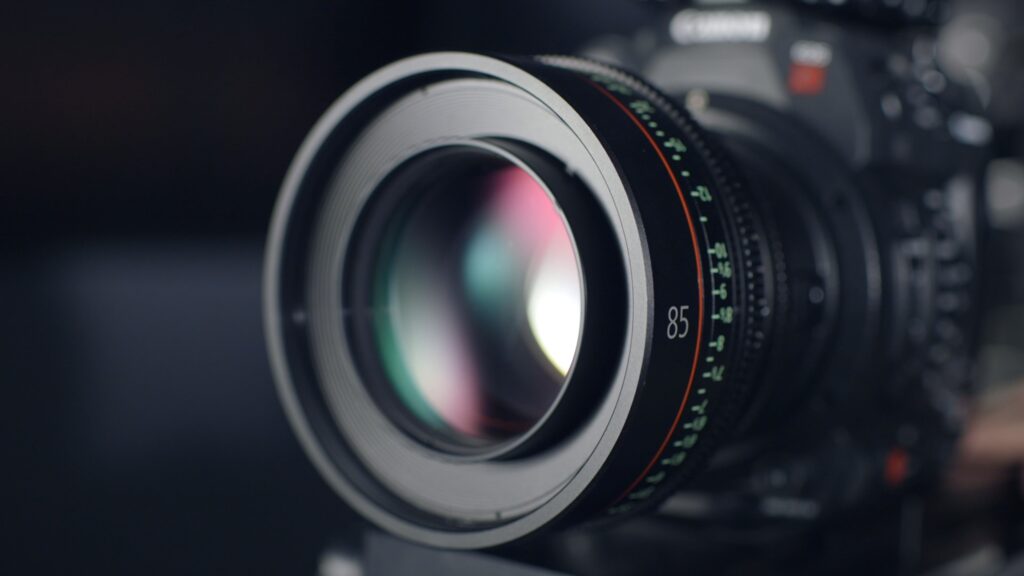
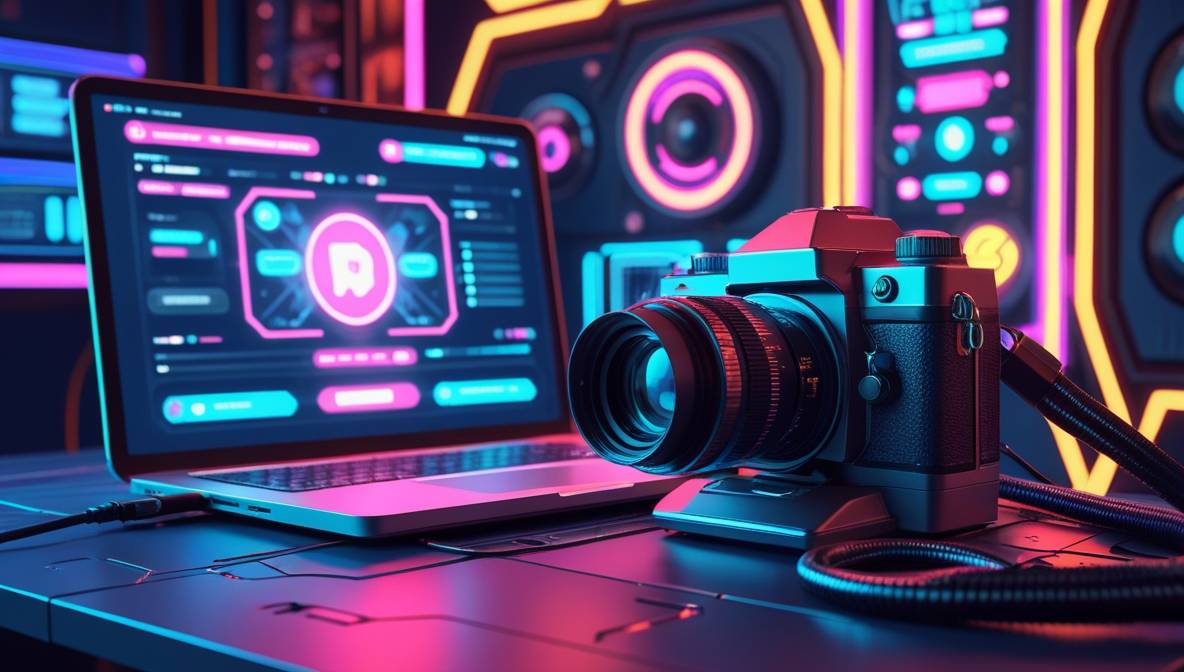
For new aspiring videographers when it comes to shooting a video or if you are engaged in the video production business, things might get critical if you don’t know how to properly set up your camera. Even with a set of costly lenses and cameras, you won’t be able to produce decent videos if you don’t know how to set up your camera. Jittery, overexposed, and sometimes under-exposed footage might be a pain during editing. Even the white balance of a shot makes a vast difference to the feel of a video, so here I have mentioned major tips for setting up your camera which will help you to stand apart and master the basics of videography. Get the best DSLR Setting for Vlogging 2021.
Note: This setting is only for manual purposes, so please set your camera mode to manual if you want to apply this setting on your camera.
Let us break down the settings into four points: Best DSLR Setting for Vlogging 2021.
No 1: Decide your frame rate
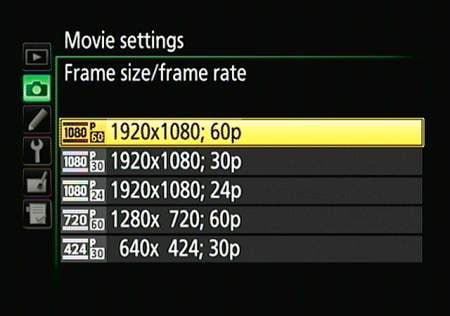
There’s no rulebook of which frame rate to use while shooting but when it comes to the technical and visual appeal, of course, a frame rate of more than 50 frames per sec will give you slow-mo ability during post-processing while a frame rate of 24 fps is good for giving a cinematic feel to a video. Usually, TV companies follow the standard of using 25-30 FPS.
Knowing your FPS also is very helpful while selecting your shutter speed. For a vlog, 24-30 fps is an idle frame rate because we want our videos to look cinematic and lightweight for post-production.
No 2: Adjust your shutter speed according to the frame rate.
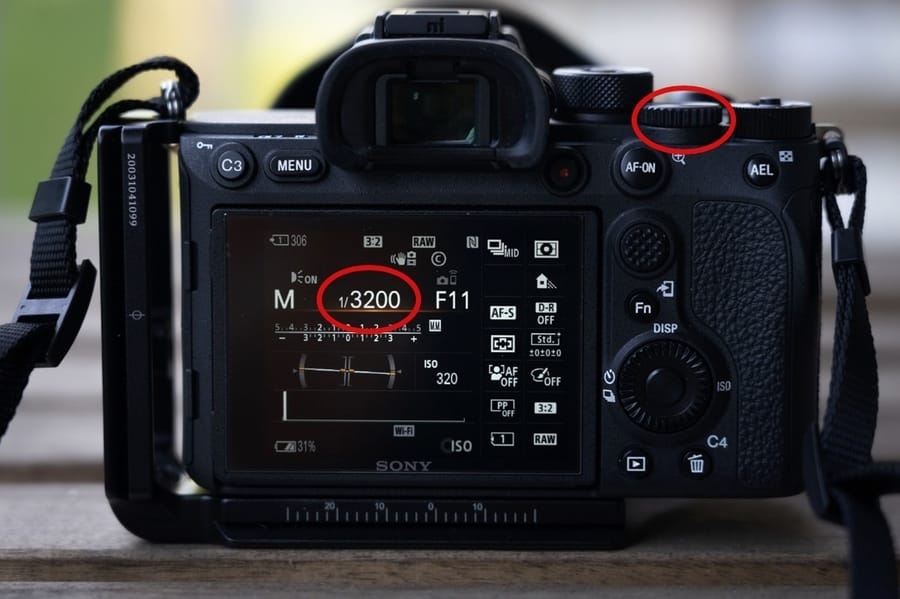
Always remember to adjust your shutter speed with your frame rate. In simple words, if you are using a frame rate of 24 frames per sec double your shutter value and adjust your shutter speed to 50, if the frame rate is 30 fps then the shutter speed should be 60 to give the footage a smooth motion blur effect.
No 3: Decide your white balance.
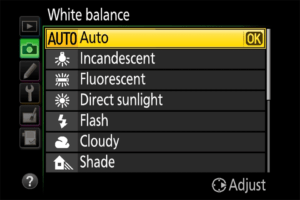
In every camera, there are presets like AWB, tungsten light, cloudy, outdoor, etc and each one of them offers you a tint of colors to your video. The presets seem to change the color of your shots but they are not filters, white balance color corrects your footage according to the ambiance you are in. Check what kind of ambiance you are in and accordingly adjust your white balance. If you are next to a bright window select shade. You can also set it up manually.
If you are confused about which setting to use it is advised to use AWB (Auto White Balance) which is 98% accurate all the time.
No 4: Set the Aperture.
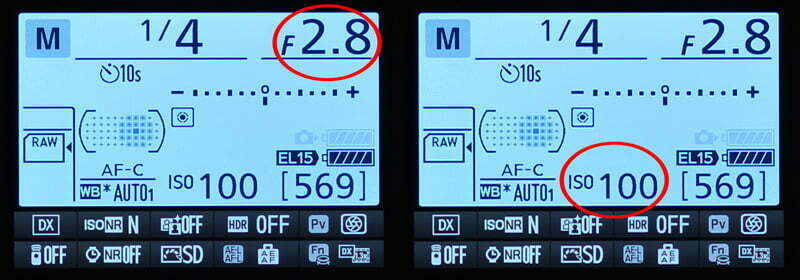
Aperture is the opening of a lens Aperture is the F value or F stop value and every lens offers different aperture ability, the aperture value is always mentioned in the body of the lens which helps us to recognize the light intake capability of our lens. If your lens has an f-stop of 1.8 it is more likely to help you shoot good images during low lighting conditions than a lens having an FStop of 5.6 in the same environmental condition. An F stop of 1.8 will have a bigger Iris than a lens with an aperture of 5.6. Always remember to use the maximum aperture possible because the larger the aperture, the more light is likely to enter the sensor of the camera which helps the image to be more sharp and beautiful.
So these are the universal setting for producing good video so apply these settings whenever you are vlogging to make your footages stand out.
Get the best DSLR Setting for Vlogging 2021.
If you liked the article, don’t forget to read articles on the After effects tutorial. Also, read about movies and entertainment blogs on the site.
Thank you for visiting the site.
